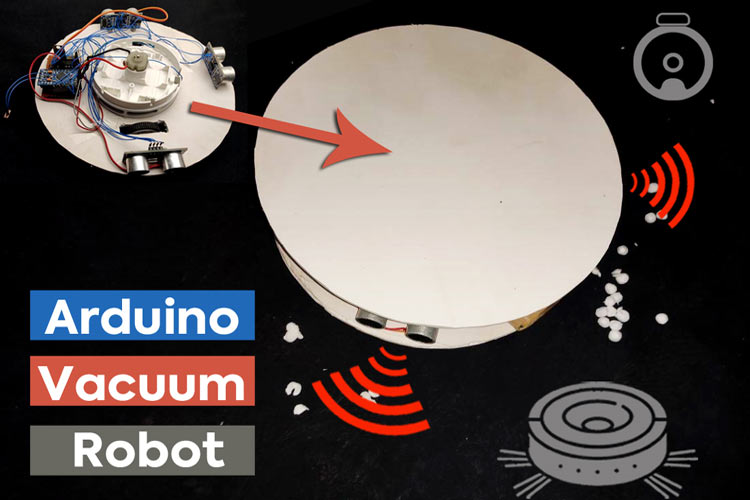
Building a DIY robot vacuum cleaner involves creating a custom, automated device to clean floors autonomously. It requires basic electronics and programming skills.
A DIY robot vacuum cleaner project can be a rewarding and educational endeavor. You can customize it to fit specific cleaning needs and preferences. The project helps you learn about robotics, electronics, and programming in a practical way. You need essential components like motors, sensors, a microcontroller, and a chassis.
Open-source platforms like Arduino or Raspberry Pi can simplify the process. By constructing your own robot vacuum, you gain a deeper understanding of its functionality and maintenance. This guide will walk you through the necessary steps and components to build your own efficient and effective robot vacuum cleaner.
Essential Components
Motors help the robot move. Choose high-quality motors for better performance. Wheels must be sturdy and durable. Rubber wheels provide good grip. Ensure the motors and wheels fit well together.
Sensors detect obstacles. Common sensors include infrared and ultrasonic. Cameras help in mapping the area. Use high-resolution cameras for better navigation. Proper placement of sensors and cameras is crucial.
Control systems are the robot’s brain. They process data from sensors and cameras. Popular choices include Arduino and Raspberry Pi. Ensure the control system can handle all tasks. Proper programming is essential for smooth operation.
Choosing The Right Materials
The frame is the skeleton of your robot vacuum. A strong frame keeps everything in place. Use lightweight materials like plastic or aluminum for the frame. These materials are easy to cut and shape. The body of the robot should be compact. A compact body helps the robot move easily in small spaces. Make sure to leave space for other components inside the body.
A reliable battery is crucial for a robot vacuum cleaner. Lithium-ion batteries are a good choice. They last longer and charge faster. The battery should provide enough power for at least 1 hour of cleaning. Use a power supply that matches the battery’s voltage. This ensures the robot runs smoothly. Proper power management helps avoid overheating and extends battery life.
Step-by-step Building Guide
Gather all the parts for the base. Use a sturdy platform. Attach wheels to the base. Make sure they are secure. Add support brackets for stability. Place the battery holder on the base. Ensure it is tightly fixed. Check the base for balance. It should not wobble.
Choose suitable motors for your vacuum cleaner. Mount the motors on the base. Align them properly. Use screws to fix them. Connect motor shafts to the wheels. Ensure they fit well. Double-check motor alignment. Test motor movement manually.
Prepare the circuit board and sensors. Connect wires to the motors. Follow the wiring diagram. Attach sensors to the base. Connect them to the circuit board. Secure all connections with tape. Install the power switch. Test the electronic components. Make sure everything works.
Programming The Robot
Start with the basic coding skills. Learn how to write simple commands. Use a programming language like Python. Write code to control the robot’s movements. Make the robot move forward, backward, left, and right. Keep the code simple at first. Test each command to see if it works. Fix any errors you find.
Create navigation algorithms for the robot. Use sensors to avoid obstacles. Write code to read sensor data. Make the robot turn when it sees an obstacle. Use algorithms like A or Dijkstra for pathfinding. These help the robot find the best route. Test your code in different environments. Adjust the code if the robot gets stuck.
Testing And Troubleshooting
Start with a small area. Make sure the floor is clear. Check if the vacuum moves. Look for any strange noises. Ensure the brushes spin. Verify the suction is strong. Watch for smooth navigation. Observe battery performance. Note any issues.
Robot not moving: Check the wheels. Remove any debris. Ensure the battery is charged.
Weak suction: Clean the filters. Empty the dustbin. Check for blockages in the suction path.
Brushes not spinning: Remove hair and dirt. Check the brush motor. Ensure the brushes are installed correctly.
Battery not charging: Inspect the charger. Clean the charging contacts. Replace the battery if needed.

Enhancing Your Robot Vacuum
Adding smart features to your robot vacuum is easy. You can use a smart app to control it. Voice commands can also be added. This lets you tell the vacuum to start or stop. You can even schedule cleaning times. This makes the vacuum work when you are not home. Sensors can help avoid obstacles. They help the vacuum clean better.
Your robot vacuum can work with other smart devices. It can be linked to your smart home system. This allows it to communicate with other devices. For example, it can start cleaning when you leave the house. Smart plugs can be used to control the vacuum’s power. This makes managing your home even easier.
Maintenance Tips
Keep your robot vacuum clean. Empty the dustbin after every use. Check the filters weekly and clean them. Remove hair and debris from the brushes. Wipe the sensors with a soft cloth. Ensure the wheels are free from dirt. Inspect the charging contacts for dust. Keeping these parts clean helps your vacuum work well.
Keep the software updated. Check for updates regularly. Updated software fixes bugs and improves performance. Connect your robot vacuum to Wi-Fi. Use the app to download updates. Follow the instructions on the screen. An updated vacuum works better and lasts longer. Always make sure your vacuum has the latest software.
Final Thoughts
Building your own robot vacuum cleaner is a rewarding project. It offers customization and cost savings. With the right materials and guidance, you can create a device tailored to your needs. Embrace the challenge and enjoy the benefits of a clean home with your DIY robot vacuum cleaner.