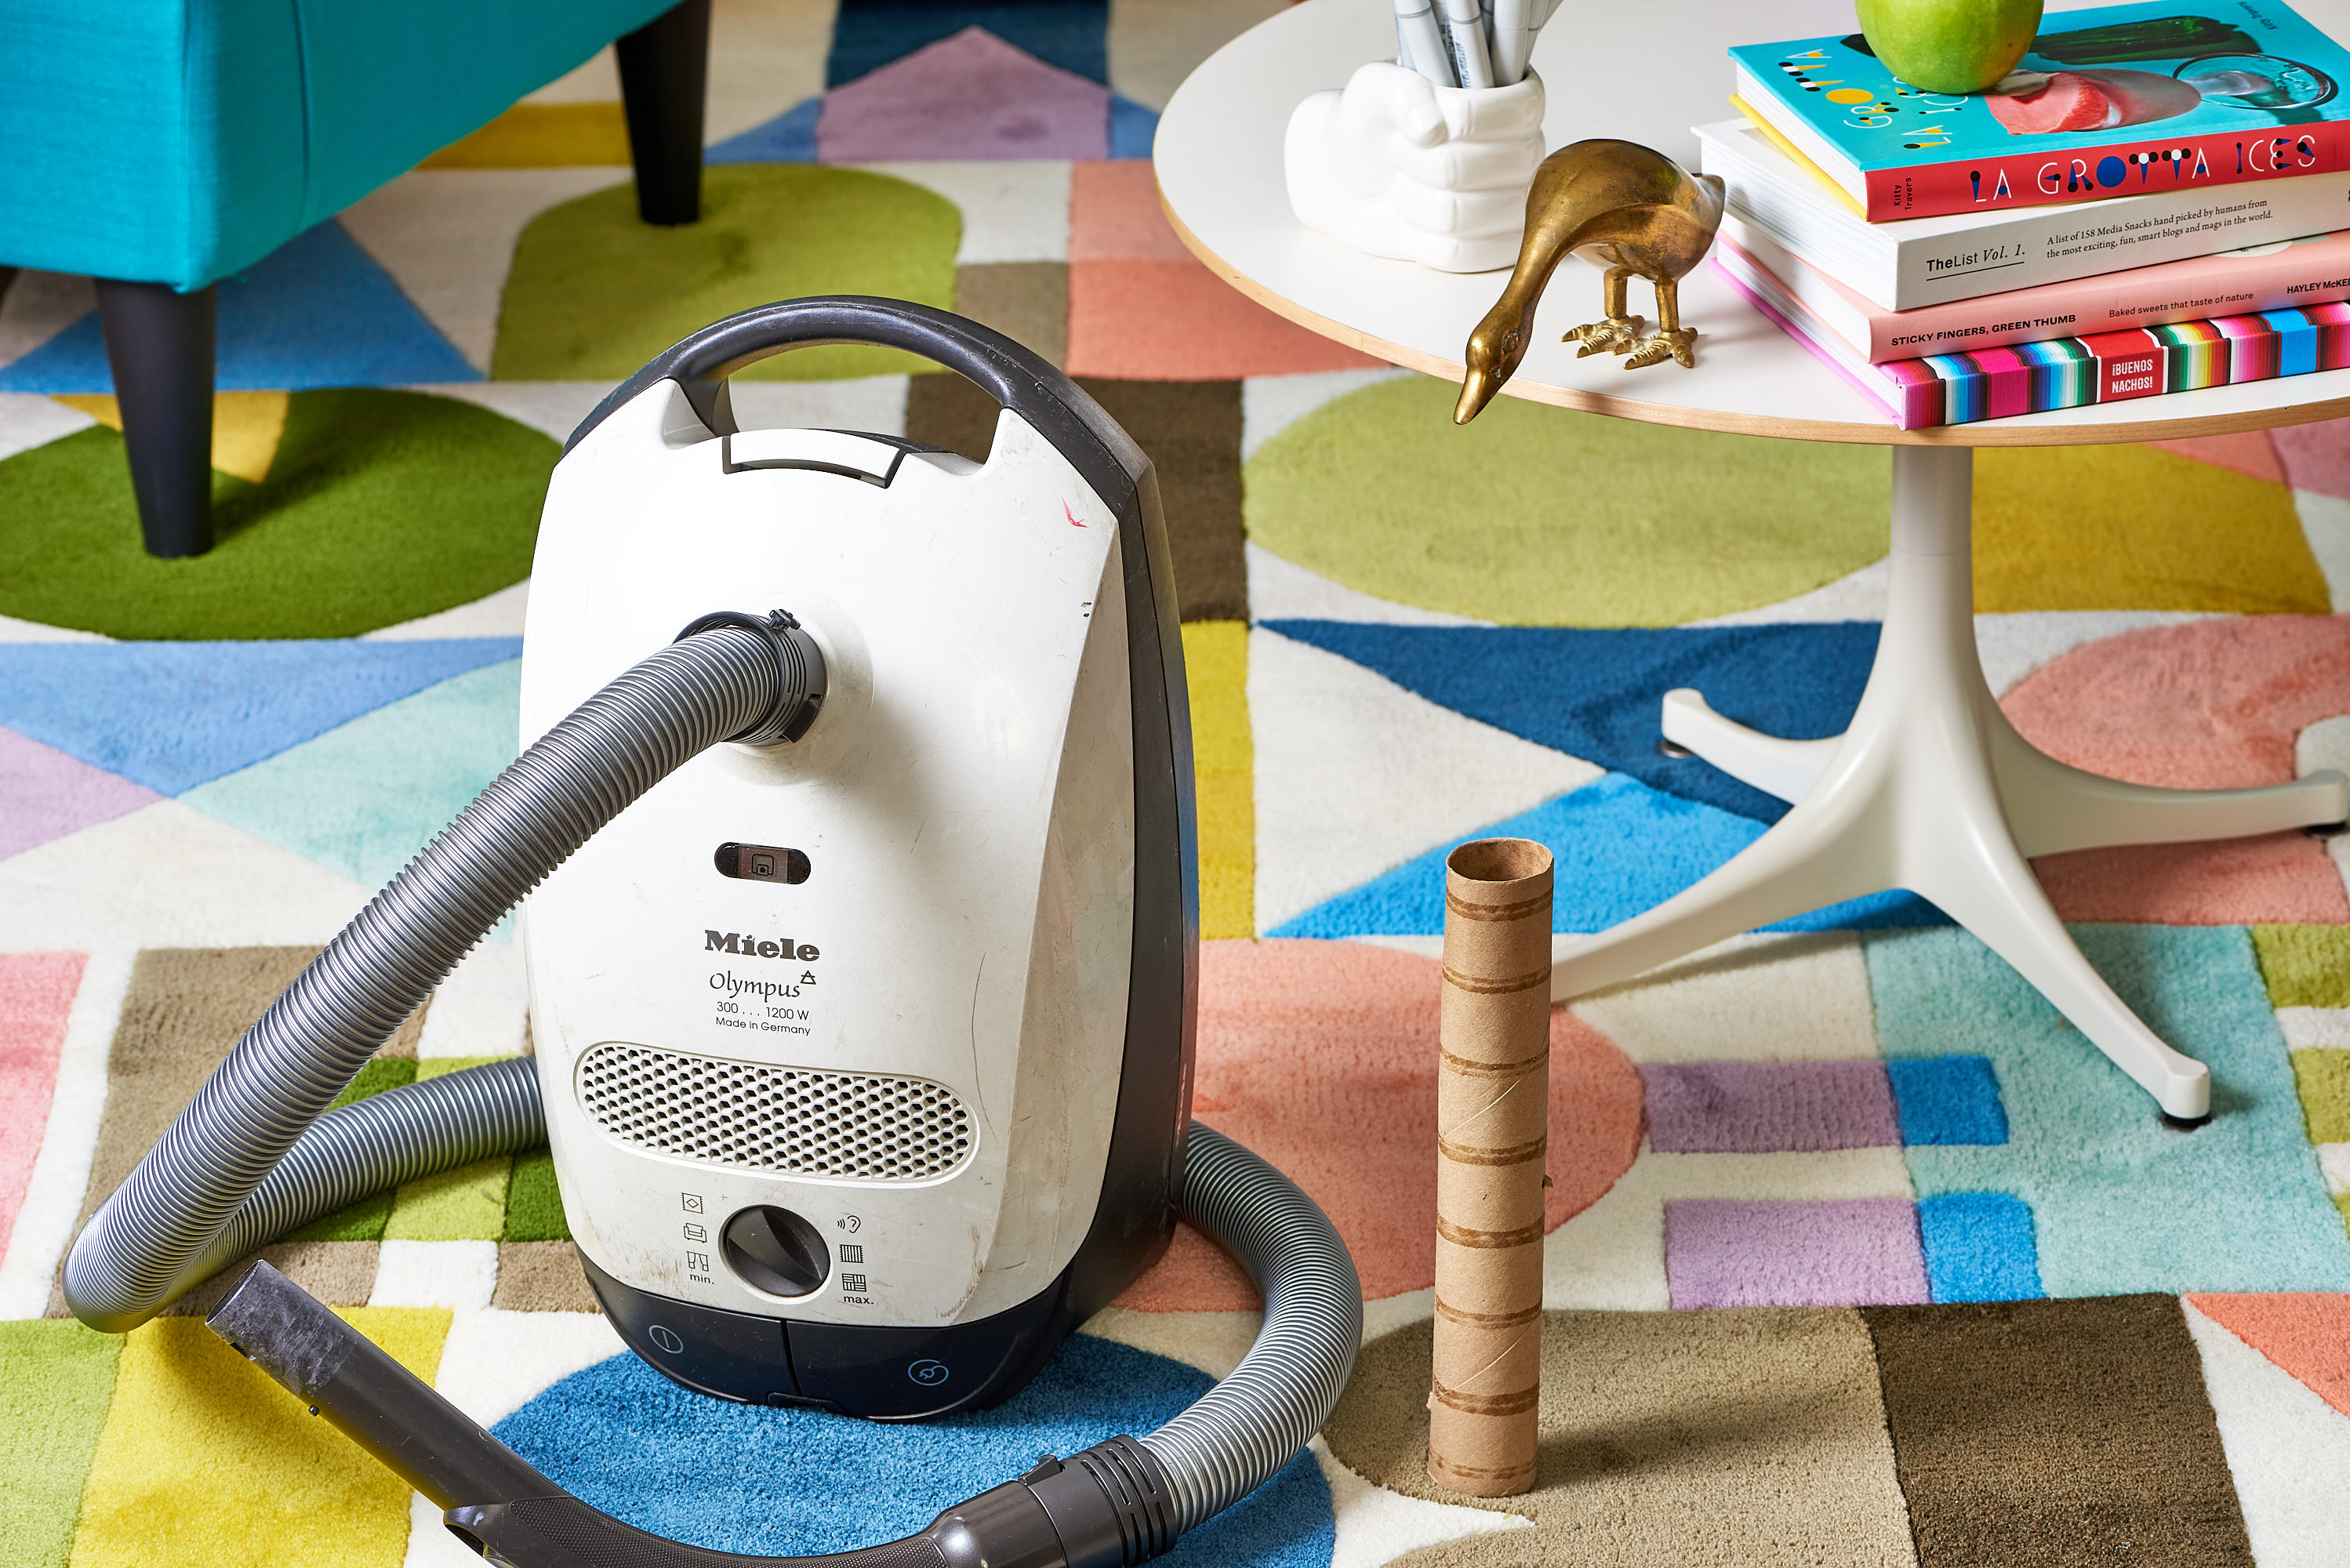
A DIY vacuum cleaner attachment can save you money and customize your cleaning needs. It’s a cost-effective way to enhance your vacuum.
Vacuum cleaner attachments are essential for effective cleaning. Making your own can be both fun and practical. With simple materials like PVC pipes, duct tape, and old brushes, you can create customized attachments for specific tasks. These DIY projects allow you to tackle hard-to-reach areas, delicate surfaces, or stubborn dirt with ease.
Plus, it’s a sustainable option, repurposing items you already have at home. Whether you need a narrow nozzle for tight spaces or a soft brush for upholstery, a DIY approach ensures you have the right tool for every job. Save money and enjoy the benefits of a tailored cleaning experience.
Introduction To Diy Vacuum Attachments
Custom vacuum attachments help clean hard-to-reach spots. They can be made to fit any unique need. Use them to clean small gaps, corners, or delicate items. Store-bought tools may not fit every task. Custom attachments save time and effort. They are cost-effective and easy to create. Use simple materials to make them. This makes cleaning more fun and efficient.
Gather some basic tools and materials for this project. You’ll need PVC pipes or plastic bottles. Scissors or a utility knife will help in cutting. Use duct tape for securing parts. Hot glue can also be useful. Sandpaper will smooth rough edges. Get a measuring tape for accuracy. These items are easy to find at home or in stores.

Choosing The Right Materials
Always pick materials that are strong and resilient. Plastic and metal are good choices. Plastic is lightweight and easy to mold. Metal is very sturdy and long-lasting. Both materials help your attachment last longer.
Think about using recycled materials. Recycled plastic is a good option. It helps reduce waste and is still durable. Bamboo is another choice. It is strong and biodegradable. Using these materials is good for the environment.
Step-by-step Assembly Guide
Start by measuring the attachment parts. Mark the areas to be cut. Use a saw to cut the pieces carefully. Sand the edges to make them smooth. Ensure each piece fits well with the others. You may need to adjust the size for a perfect fit. Safety goggles and gloves are important during this step.
Begin by aligning the parts. Use screws or glue to join them. Double-check each connection for tightness. Secure all the joints properly. Test the attachment on your vacuum cleaner. Ensure it fits snugly and works efficiently. Make any necessary adjustments.
Enhancing Efficiency
Making a vacuum cleaner more efficient is easy. Start by making sure the attachment fits well. A good fit stops air leaks. This helps the vacuum cleaner suck up more dirt. Clean the attachment often. Dirt can block the suction. A clean attachment works better. Use a brush to remove any stuck dirt. This will keep the suction strong.
Vacuum cleaners can be loud. A quieter vacuum is nicer to use. To reduce noise, check the attachment. Loose parts make more noise. Tighten any screws or bolts. Adding foam can also help. Foam absorbs sound. Place foam around the attachment. This will make the vacuum cleaner quieter. Regularly check the attachment for wear and tear. Replace worn parts to keep the noise low.
Safety Tips
Always wear gloves when using sharp tools. Keep tools away from children. Store sharp tools in a safe place. Always cut away from your body. Check tools for damage before use.
Make sure attachments fit securely on the vacuum cleaner. Double-check connections before starting. Avoid using damaged attachments. Keep screws and bolts tight. Regularly inspect attachments for wear and tear.

Maintenance And Care
Regular cleaning and inspection of your DIY vacuum cleaner attachment ensure optimal performance and longevity. Store it in a dry place to prevent damage.
Cleaning The Attachments
Always detach the vacuum cleaner attachments before cleaning. Use a soft brush to remove dust from the bristles. For stubborn dirt, soak the attachments in warm soapy water. Rinse thoroughly and let them air dry. Avoid using harsh chemicals as they can damage the plastic parts. Regular cleaning ensures efficient performance and prolongs the life of your attachments.
Storage Tips
Store vacuum attachments in a dry place to prevent mold growth. Use a storage bag to keep them organized. Hanging them on a pegboard can save space and provide easy access. Make sure all attachments are completely dry before storing. Proper storage helps in maintaining the attachments’ condition and ready availability.
Creative Attachment Ideas
Pet hair can be tough to remove. Use a rubber brush attachment. It helps in collecting hair. Try a lint roller attachment for quick cleaning. Another idea is to use fabric softener sheets. They reduce static and pick up hair.
Cleaning tight spaces can be tricky. Use a narrow nozzle to reach those spots. A flexible hose can bend into corners. Attach a small brush to clean vents and keyboards. Try a straw attachment for very tiny areas.

Benefits Of Diy Attachments
DIY attachments save money. No need to buy expensive tools. Use items you already have. Spend less on cleaning supplies. Save on repair costs too. Custom tools cost less to make.
Make tools that fit your needs. Clean hard-to-reach spots. Create attachments for special tasks. Use tools that fit your vacuum perfectly. Have the right tool for every job.
Conclusion
Creating your own vacuum cleaner attachment is simple and cost-effective. With just a few materials, you can enhance your cleaning efficiency. DIY projects like this save money and provide customized solutions. Try making one today and enjoy a cleaner home environment.
Happy cleaning!


