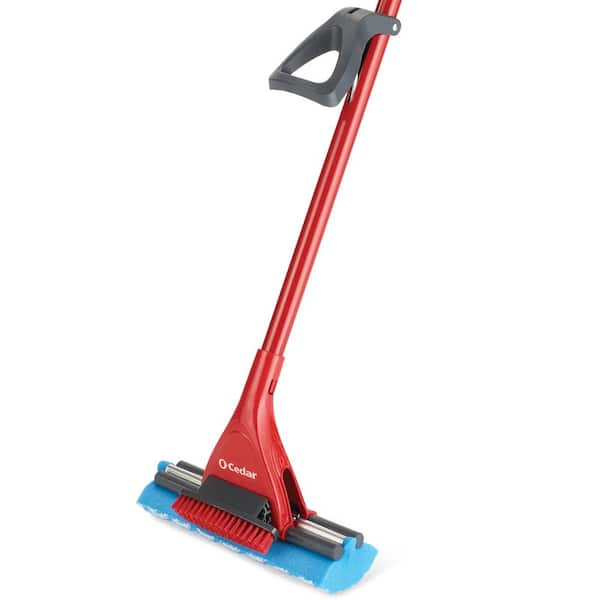
To change the O Cedar Power Scrub Mop head, simply twist the mop head assembly off, then attach the new head securely. The O Cedar Power Scrub Mop offers a convenient and efficient way to keep your floors clean and sparkling.
With its easy-to-change mop head feature, you can quickly switch between different mop heads for various cleaning needs. Whether you need to replace a worn-out head or switch to a different type of mop head, the process is straightforward and hassle-free.
In this blog post, we will guide you through the simple steps to change the O Cedar Power Scrub Mop head, ensuring that your cleaning routine remains smooth and effective.
Credit: www.gosupps.com
Introduction To O Cedar Power Scrub Mop
Regularly changing the mop head of your O Cedar Power Scrub Mop is essential for maintaining cleanliness and efficiency. By replacing the mop head, you can ensure that your floors are thoroughly cleaned with each use, avoiding the spread of germs and dirt. Additionally, a fresh mop head can lead to better results, leaving your floors sparkling and free from residue. This simple maintenance task can also prolong the life of your mop, saving you time and money in the long run. By understanding the basics of mop maintenance and the benefits of regular head changes, you can keep your cleaning routine running smoothly and effectively.
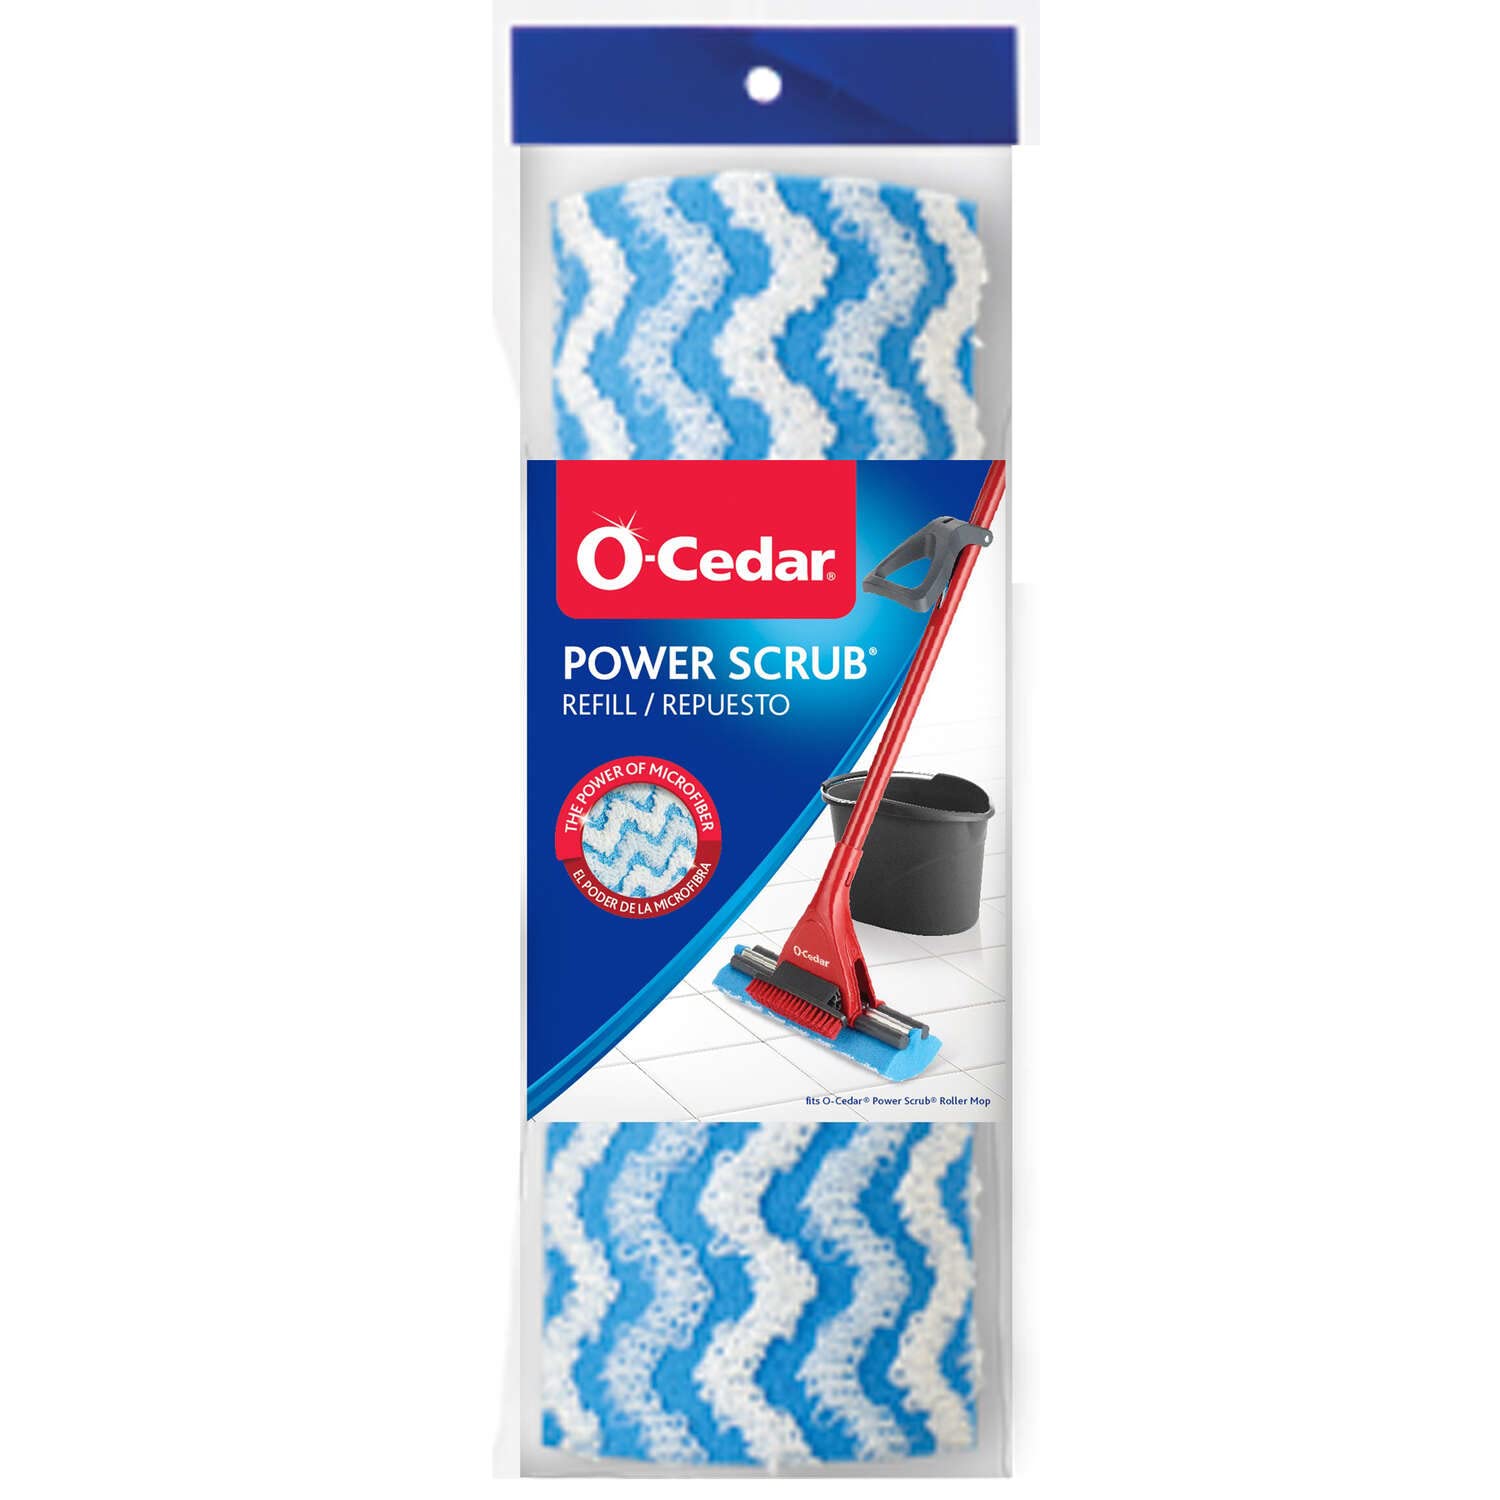
Credit: www.homedepot.com
Identifying When To Change The Mop Head
Signs of Wear and Tear: Look for frayed strands and decreased cleaning efficiency.
Optimal Timeframe for Replacement: Replace every 3-6 months for best results.
Types Of O Cedar Mop Heads
O Cedar offers various types of mop heads that are designed to be compatible with the Power Scrub mop. The mop heads come in different variations, each serving specific cleaning purposes. When changing the mop head on your O Cedar Power Scrub mop, it’s essential to ensure compatibility with the specific model. Some mop heads are designed for heavy-duty cleaning, while others are suitable for delicate surfaces. Always check the compatibility of the mop head with your Power Scrub mop to achieve optimal cleaning results.
Preparing For The Change
Changing the mop head of your O Cedar Power Scrub Mop is an easy task if you have the necessary supplies at hand. Make sure to gather a new mop head, a flathead screwdriver, and a pair of gloves to protect your hands from dirt and bacteria. Additionally, ensure that the mop has been disconnected from any power source before starting the process.
It is also important to take safety precautions while changing the mop head. Avoid touching the dirty mop head with your bare hands and dispose of it properly to prevent the spread of germs. Before attaching the new mop head, clean the mop base thoroughly to remove any debris or dirt that may have accumulated.
Step-by-step Removal Of The Old Mop Head
Changing the mop head of your O Cedar Power Scrub mop is a simple process that can be done in a few easy steps. To remove the old mop head, start by detaching it from the mop handle. This can be done by pressing the release button located near the base of the mop head. Once the button is pressed, the mop head can be easily pulled off the handle. Proper disposal of the old mop head is important. To dispose of it, wrap it in a plastic bag and throw it in the trash. It is recommended to wear gloves while doing this to avoid any contact with dirt or bacteria on the mop head. Remember to wash your hands thoroughly after disposing of the old mop head. Once the old mop head is taken care of, you can attach the new mop head to the mop handle by simply sliding it onto the handle until it clicks into place. With these simple steps, you can easily change the mop head of your O Cedar Power Scrub mop and continue to enjoy its cleaning power.
Installing The New Mop Head
To change the O Cedar Power Scrub mop head, start by aligning the new mop head with the mop base. Ensure the mop head is properly positioned and insert it into place. Then, twist the mop head to secure it in place. Once it’s tightly secured, you’re ready to use the mop for effective cleaning.
Tips For Ensuring A Secure Fit
To ensure a secure fit when changing the O Cedar Power Scrub mop head, start by aligning the head with the mop base. Firmly press down and twist to lock it in place. Double-check for a snug connection before resuming cleaning tasks.
| Check the locking mechanisms | Test the mop head post-installation |
| Ensure the locking mechanisms are securely in place. | Test by giving a gentle tug to confirm the mop head is stable. |
Maintenance And Care For Longevity
When cleaning the O Cedar Power Scrub mop head, it’s important to use a mild detergent and warm water. Gently hand wash the mop head and allow it to air dry completely before reattaching it to the mop handle. For stubborn stains, soak the mop head in a solution of water and white vinegar before washing. To maintain the longevity of the mop head, avoid using bleach or fabric softeners as they can damage the fibers.
For storage, ensure the mop head is completely dry before storing it in a well-ventilated area. Avoid storing the mop head in direct sunlight or damp conditions as this can lead to mold and mildew growth. By following these care tips, you can ensure that your O Cedar Power Scrub mop head remains in optimal condition for an extended period of time.
Troubleshooting Common Issues
If the mop head is stuck, try twisting it gently to release it. Check for any debris or dirt that may be causing the issue. For loose mop heads, tighten the screw or replace it if necessary.
Where To Buy Replacement Mop Heads
When it comes to changing the O Cedar Power Scrub mop head, it’s essential to know where to buy replacement mop heads. You can purchase them from various retailers, both online and in-store. Some recommended retailers include Amazon, Walmart, and Home Depot. Online purchasing offers convenience and a wide selection, while in-store purchasing allows you to inspect the product before buying. Consider factors such as price, shipping time, and return policies when deciding between the two options. By exploring these options, you can find the best place to buy replacement mop heads for your O Cedar Power Scrub mop.

Credit: www.amazon.com
Frequently Asked Questions
How To Remove Mop Head?
To remove a mop head, twist the handle to loosen it, then pull it out of the mop.
When Should I Replace My O Cedar Mop Head?
Replace your O Cedar mop head every 3-6 months for optimal cleaning performance and hygiene. Inspect for wear and tear regularly.
How To Refill O Cedar Mop?
To refill an O-Cedar mop, follow these steps: Unscrew the mop head, remove the old mop head, attach a new mop head, and screw it back on securely.
How To Wash O Cedar Spin Mop Head?
To wash O-Cedar spin mop head, remove it and hand wash with mild detergent. Rinse thoroughly and air dry.
Conclusion
Changing the O Cedar Power Scrub mop head is a simple and quick process. By following the steps outlined in this guide, you can easily maintain the effectiveness of your mop. Keeping your mop in good condition ensures efficient cleaning and long-term use.
Don’t hesitate to give it a try!

