To connect Roomba to WiFi, follow these steps: Open the iRobot Home App, create an iRobot Account, allow Location Services, adjust Phone Settings, name your robot, troubleshoot if needed, and update Roomba software. If you own a Roomba and want to take advantage of its WiFi connectivity features, you may be wondering how to connect it to your WiFi network.
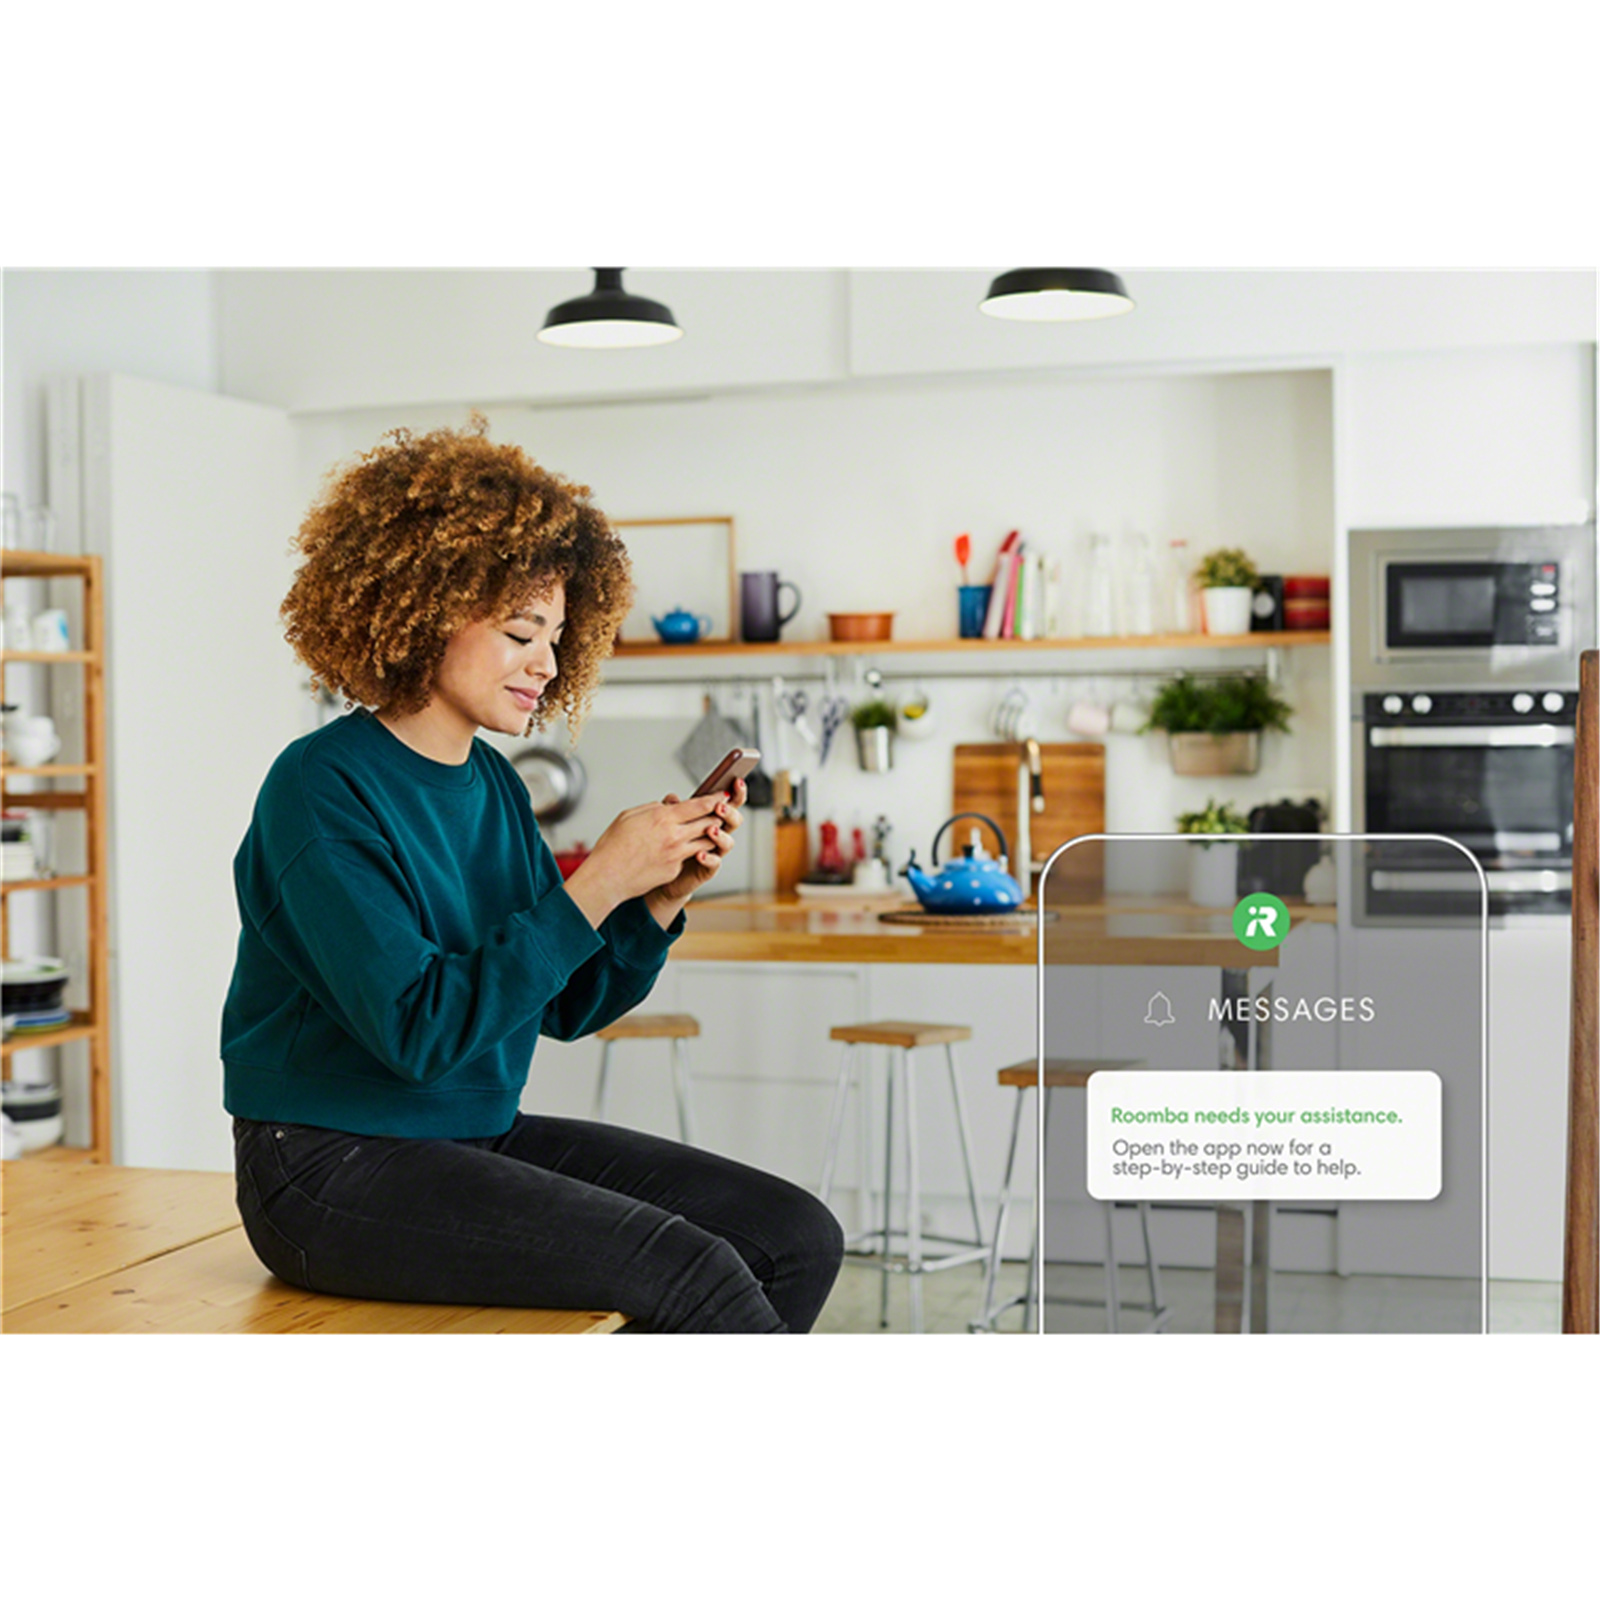
Connect Roomba To Wifi allows you to control and monitor the vacuum cleaner remotely using the iRobot Home App. It also enables you to schedule cleanings, receive notifications, and access other advanced features. In this guide, we will walk you through the process of connecting your Roomba to WiFi in a few simple steps.
By the end of this guide, you’ll have your Roomba connected to your WiFi network and ready to use with all its smart functionality. Let’s get started!
Connect Roomba To WiFi using The Irobot Home App
Open the iRobot Home App
|
Create an iRobot Account
|
Allow Location Services
|
Adjust Phone Settings
|
Name your robot
|
Troubleshooting
|
Updating Roomba Software
When Connect Roomba To Wifi, it’s important to make sure that you have the latest software update installed. To update your Roomba software, follow these steps:
- Open the iRobot Home App on your phone.
- Create an iRobot Account if you don’t have one already.
- Allow Location Services for the app.
- Go to your phone’s settings and connect to your Wi-Fi network.
- In the app, name your robot for easy identification.
- Navigate to the troubleshooting section in the app and select “Update Roomba Software.”
- Follow the prompts to complete the software update.
Once the software update is completed, your Roomba will be ready to connect to your WiFi network. Make sure to follow the instructions specific to your Roomba model for a successful connection. Enjoy the convenience of controlling your Roomba remotely with the iRobot Home App!
Setting Up Your Wi-Fi Connected Robot With The Irobot Home App
Setting up your Wi-Fi Connected Robot with the iRobot Home App is a simple and efficient process. With the iRobot Home App, you can connect and control your Roomba j Series, i Series/m Series/s Series, and even add a robot to your network.
First, open the iRobot Home App and create an iRobot account. Make sure to allow location services and adjust your phone settings accordingly. Then, you can name your robot and proceed with the setup process.
If you encounter any issues, such as troubleshooting or software updates, the iRobot Home App provides step-by-step instructions to help you resolve them.
With the iRobot Home App, connecting your Connect Roomba To Wifi has never been easier. Say goodbye to manual cleaning and take advantage of the convenience of Wi-Fi connectivity to control and monitor your robot from anywhere.
Frequently Asked Questions (Faqs)
|
|
|
|
|
Connect Roomba To Wifi
FAQs Of How To Connect Roomba To Wifi
How Do I Connect My Connect Roomba To Wifi?
To Connect Roomba To Wifi, follow these steps: 1. Open the iRobot Home App. 2. Create an iRobot Account. 3. Allow Location Services. 4. Adjust Phone Settings. 5. Name your robot. 6. Troubleshoot if necessary. 7. Update Roomba Software.
8. Complete the update. (Note: Wi-Fi connection is not necessary for Roomba to clean, but the iRobot Home App provides additional benefits. )
Why Won’t My Connect Roomba To Wifi?
Your Roomba may not be connecting to Wi-Fi due to several reasons. Please follow these troubleshooting steps: 1. Check your Wi-Fi network: Ensure that your Wi-Fi network is working properly and the signal strength is strong enough for your Roomba to connect.
2. Restart your Roomba: Turn your Roomba off and then back on again to see if it resolves the connectivity issue. 3. Reset network settings on Roomba: Reset the network settings on your Roomba and try connecting it to Wi-Fi again.
4. Check router settings: Make sure that your router settings are compatible with Roomba’s Wi-Fi requirements. Check for any firewall or security settings that might be blocking the connection. 5. Update Roomba software: Ensure that your Roomba’s software is up to date.
Check for any available software updates and install them. If the issue persists, you may need to contact Roomba customer support for further assistance.
Do I Need To Connect My Roomba To Wi-Fi?
You do not need to connect your Roomba to Wi-Fi for it to clean your home.
How Do I Change The Wi-Fi On My Irobot App?
To change the Wi-Fi on your iRobot app, follow these steps: 1. Open the iRobot Home app. 2. Create an iRobot account and allow location services. 3. Go to your phone settings and select the Wi-Fi network you want to connect to.
4. Name your robot and troubleshoot any connection issues. 5. Update your Roomba software if needed. 6. Your Wi-Fi connection on the iRobot app is now changed.
How Do I Connect My Roomba To Wifi?
To connect your Roomba to wifi, open the iRobot Home App, create an account, allow location services, and follow the prompts to connect your Roomba to your wifi network.
Conclusion
Connect Roomba To Wifi is a simple process that allows you to enjoy the convenience of controlling your cleaning robot with your smartphone or voice commands. By following the steps outlined in this blog post, you can easily connect your Roomba to your home’s WiFi network, enabling you to schedule cleaning sessions and monitor the progress of your robot from anywhere.
Start by opening the iRobot Home App and creating an account. Then, follow the prompts to allow location services and enter your WiFi network details. Once your Roomba is connected to WiFi, you can also receive software updates to ensure optimal performance and access additional features.
Having your Connect Roomba To Wifi brings a new level of convenience and control to your cleaning routine. You can schedule cleaning sessions to fit your daily routine, monitor progress, and customize cleaning preferences. With just a few simple steps, you can transform your Roomba into a smart and efficient cleaning companion.
Say goodbye to manual vacuuming and hello to a cleaner, smarter home.


