To make a mop wringer, gather a plastic bucket, drill, rope, and a PVC pipe. Drill holes in the bucket, insert the PVC pipe through the holes, tie a rope to the pipe, and secure it tightly.
This DIY mop wringer will help you efficiently squeeze excess water from your mop, making cleaning easier and more effective. Introducing a homemade mop wringer can save you time and effort during your cleaning routine. By following a few simple steps and using common household items, you can create a cost-effective solution to wring out your mop effectively.
Let’s explore the process of making a DIY mop wringer and the benefits it can provide for your cleaning tasks.
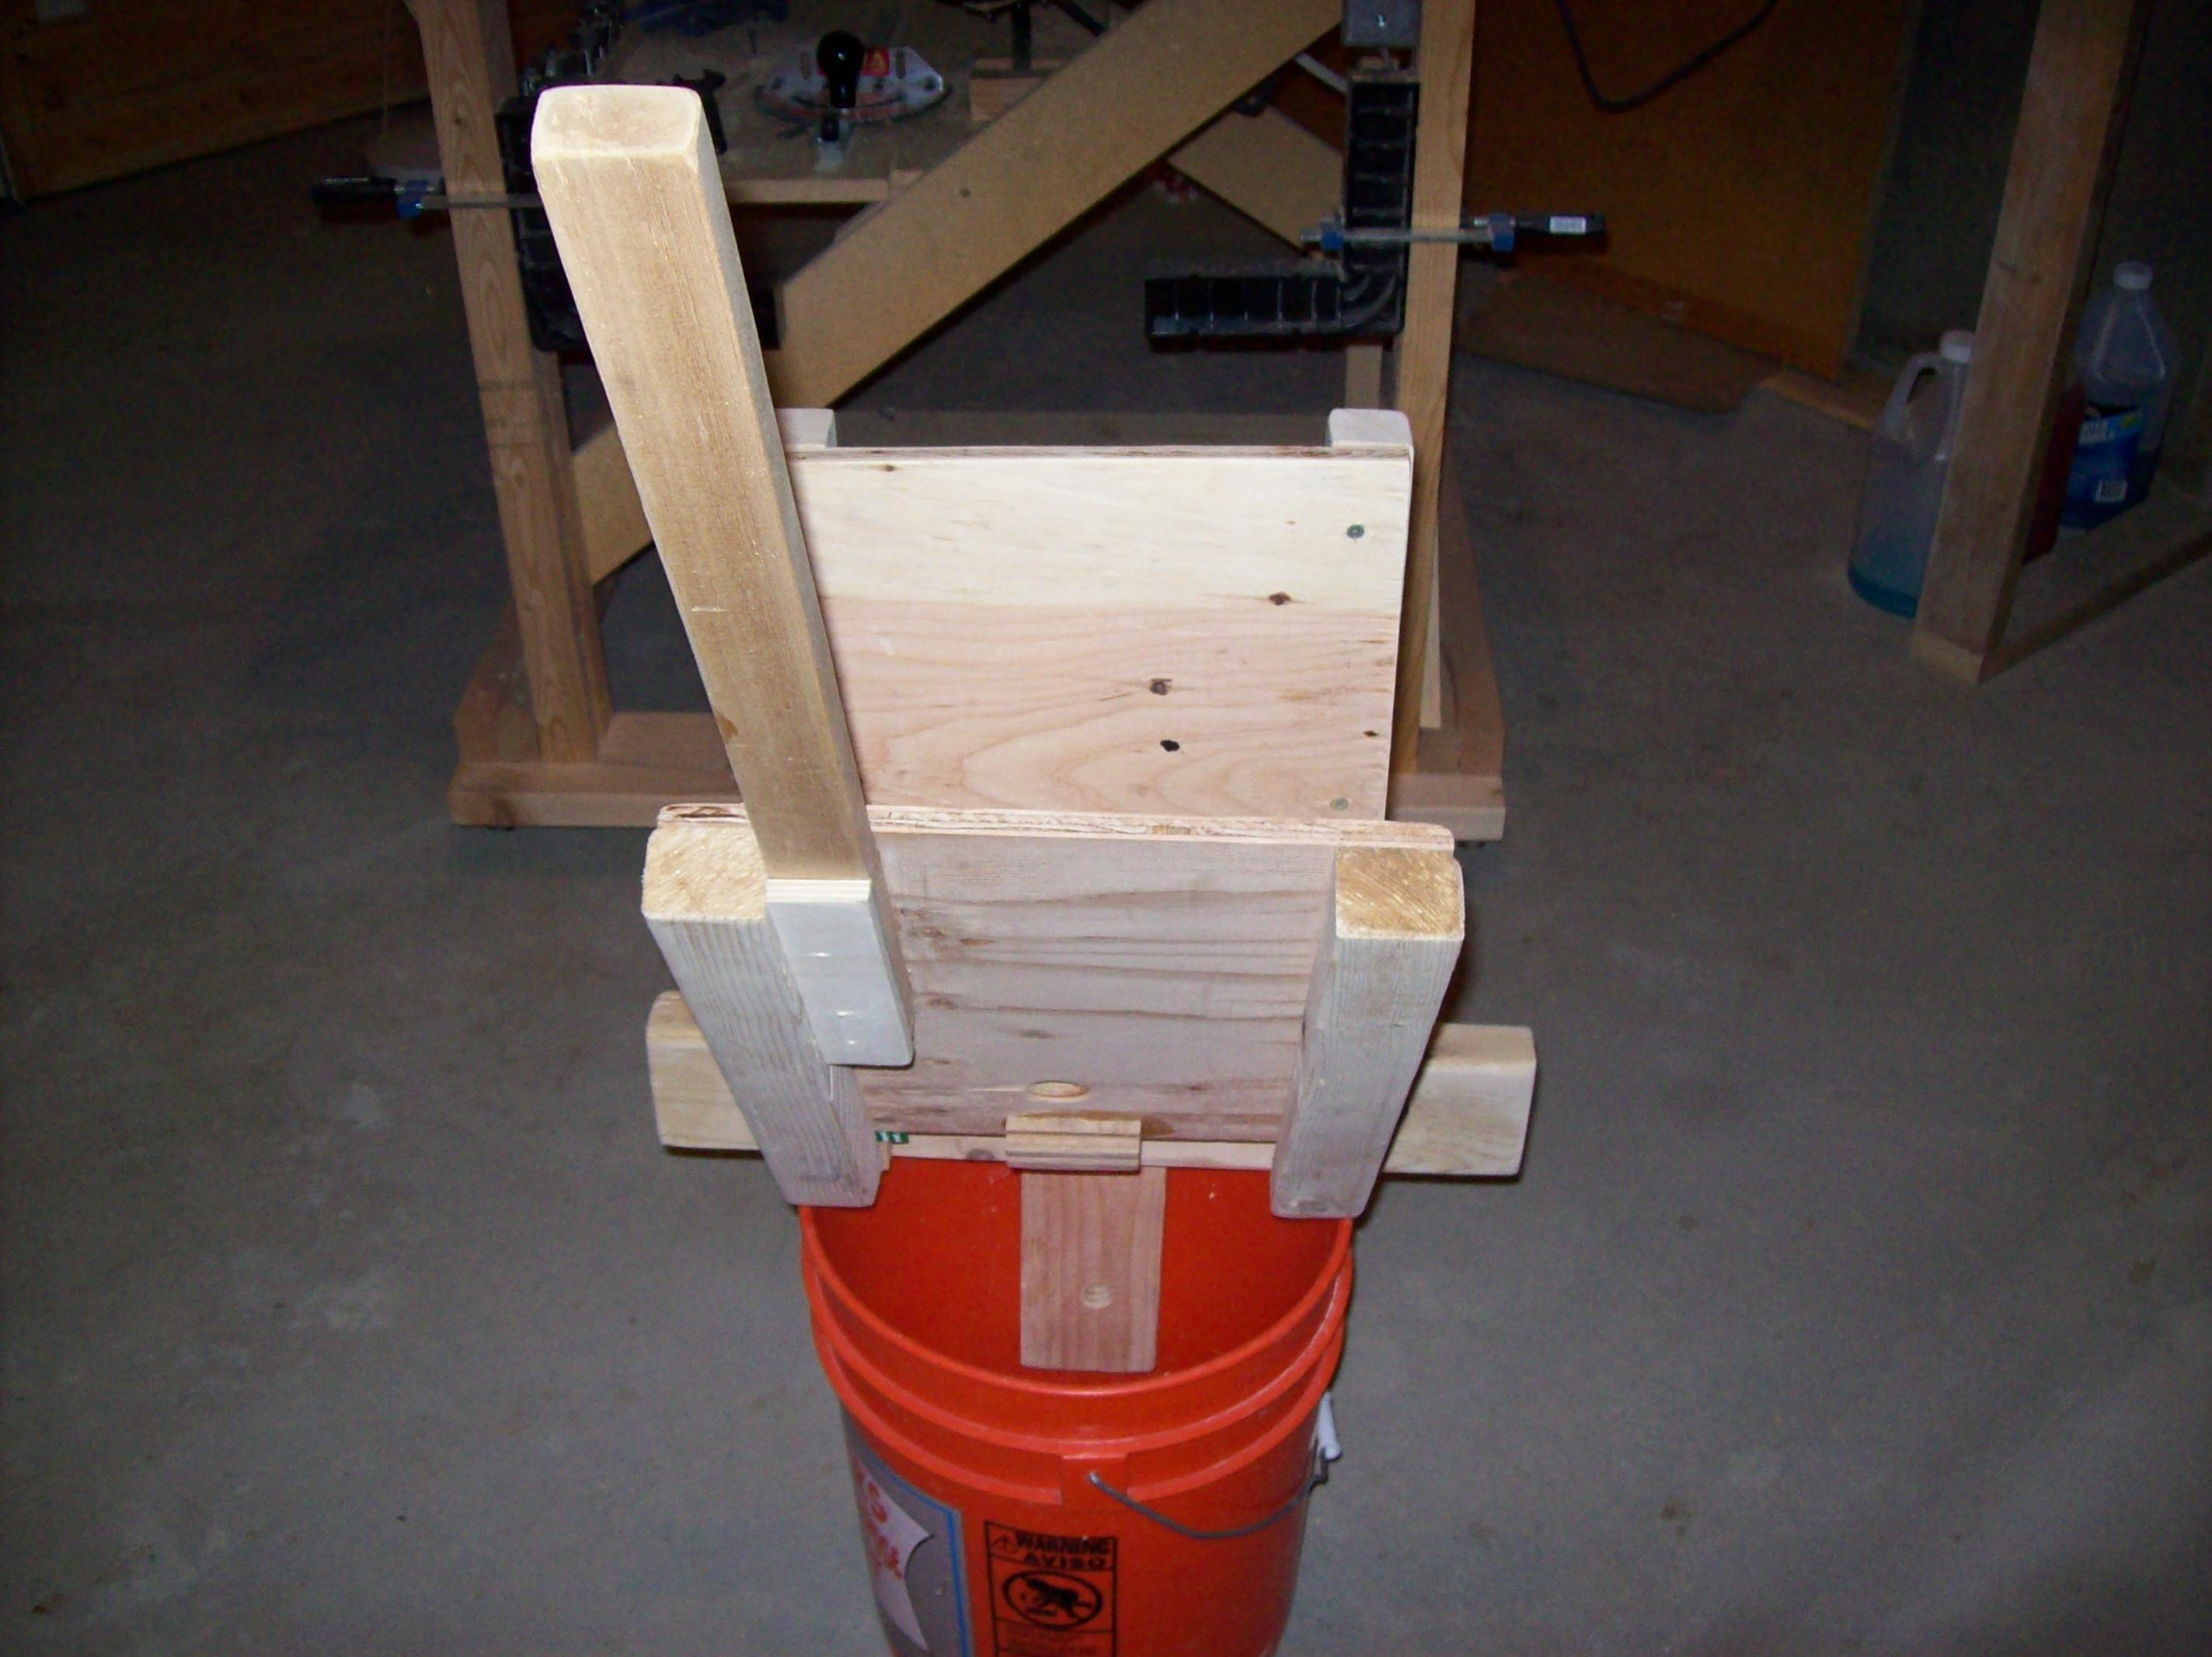
Credit: www.homemadetools.net
Introduction To Diy Mop Wringer Creation
Making a mop wringer at home can be a cost-effective and practical solution. Homemade tools offer the benefit of customization to fit your specific needs. To create your own mop wringer, you will need a few essential materials. These may include a sturdy plastic bucket, a metal or plastic wringer attachment, and some basic tools such as a drill and screws.
Designing Your Mop Wringer
Crafting a custom mop wringer allows you to tailor it to your specific needs and preferences. By following simple DIY steps using common household items, you can create an efficient and personalized mop wringer that enhances your cleaning routine.
| Designing Your Mop Wringer |
| Key Considerations for Functionality |
| Blueprints and Measurements |
Gathering Your Materials
Gathering the materials to make a mop wringer is the first step in the process. When locating sustainable supplies, consider using recycled materials whenever possible. For the assembly, you will need basic tools such as a drill, screws, and a saw. Additionally, gathering all the required materials and tools before starting the process will make it more efficient.
Step-by-step Assembly Guide
Assemble your own mop wringer with our step-by-step guide. Easily make a functional and efficient mop wringer at home using common materials. Save money and customize your mop wringer to fit your specific needs.
| Step 1: Cutting and Shaping Components |
| Cut the 1-inch PVC pipe into two 18-inch pieces for the mop handle and four 7-inch pieces for the wringer frame. Cut two 3-inch pieces from the ½-inch PVC pipe for the wringer handle. Shape one end of each 7-inch PVC pipe into a curve using a heat gun. |
| Step 2: Assembling the Base and Wringer Mechanism |
| Connect the two 18-inch PVC pipes to the T-joint, forming the base of the mop wringer. Assemble the wringer mechanism by connecting the four 7-inch PVC pipes to the four corners of the base using 90-degree elbow joints. Attach the two 3-inch PVC pipes to the two opposite corners using T-joints. |
Customizing Your Mop Wringer
| Customizing Your Mop Wringer | |
|---|---|
| Personalizing with Paint and Decor | Adding Functional Enhancements |
| Make your mop wringer unique by giving it a fresh coat of paint. Choose a color that matches your cleaning supplies or a design that complements your home decor. You can also add stickers or decals to make it stand out even more. | Consider adding functional enhancements to your mop wringer to make it more efficient. Attach a bucket holder or a trash bag holder to keep your cleaning supplies organized. You can also add wheels to make it easier to move around. |
Customizing your mop wringer is a great way to make it more personalized and functional. By adding a fresh coat of paint or stickers, you can make it stand out and match your personal style. Additionally, by adding functional enhancements like a bucket holder or wheels, you can make your cleaning routine more efficient. Try these tips and create a mop wringer that is perfect for your needs.
Safety Precautions During Construction
When making a mop wringer, it’s crucial to prioritize safety. Always wear protective gear such as gloves, goggles, and a mask to safeguard against potential hazards. Ensure the construction area is well-ventilated to minimize exposure to fumes and dust. When handling tools and equipment, maintain a firm grip and use them according to their intended purpose. Keep the work area organized to prevent tripping or falling. Avoid distractions and stay focused on the task at hand. By adhering to these safety precautions, you can create a mop wringer efficiently and without compromising your well-being.
Maintenance And Care For Your Diy Wringer
Proper maintenance is key to ensuring your DIY mop wringer stays efficient. Regularly clean and lubricate moving parts to extend its lifespan. Store in a dry area to prevent rust and damage.
| Maintenance and Care for Your DIY Wringer |
| Cleaning Tips |
| Regularly clean the wringer to prevent dirt buildup and maintain functionality. |
| Inspect the wringer after each use to ensure it is free of debris or damage. |
| Replace any worn or damaged parts promptly to avoid further issues. |
| Keep the wringer dry when not in use to prevent rust and prolong its lifespan. |
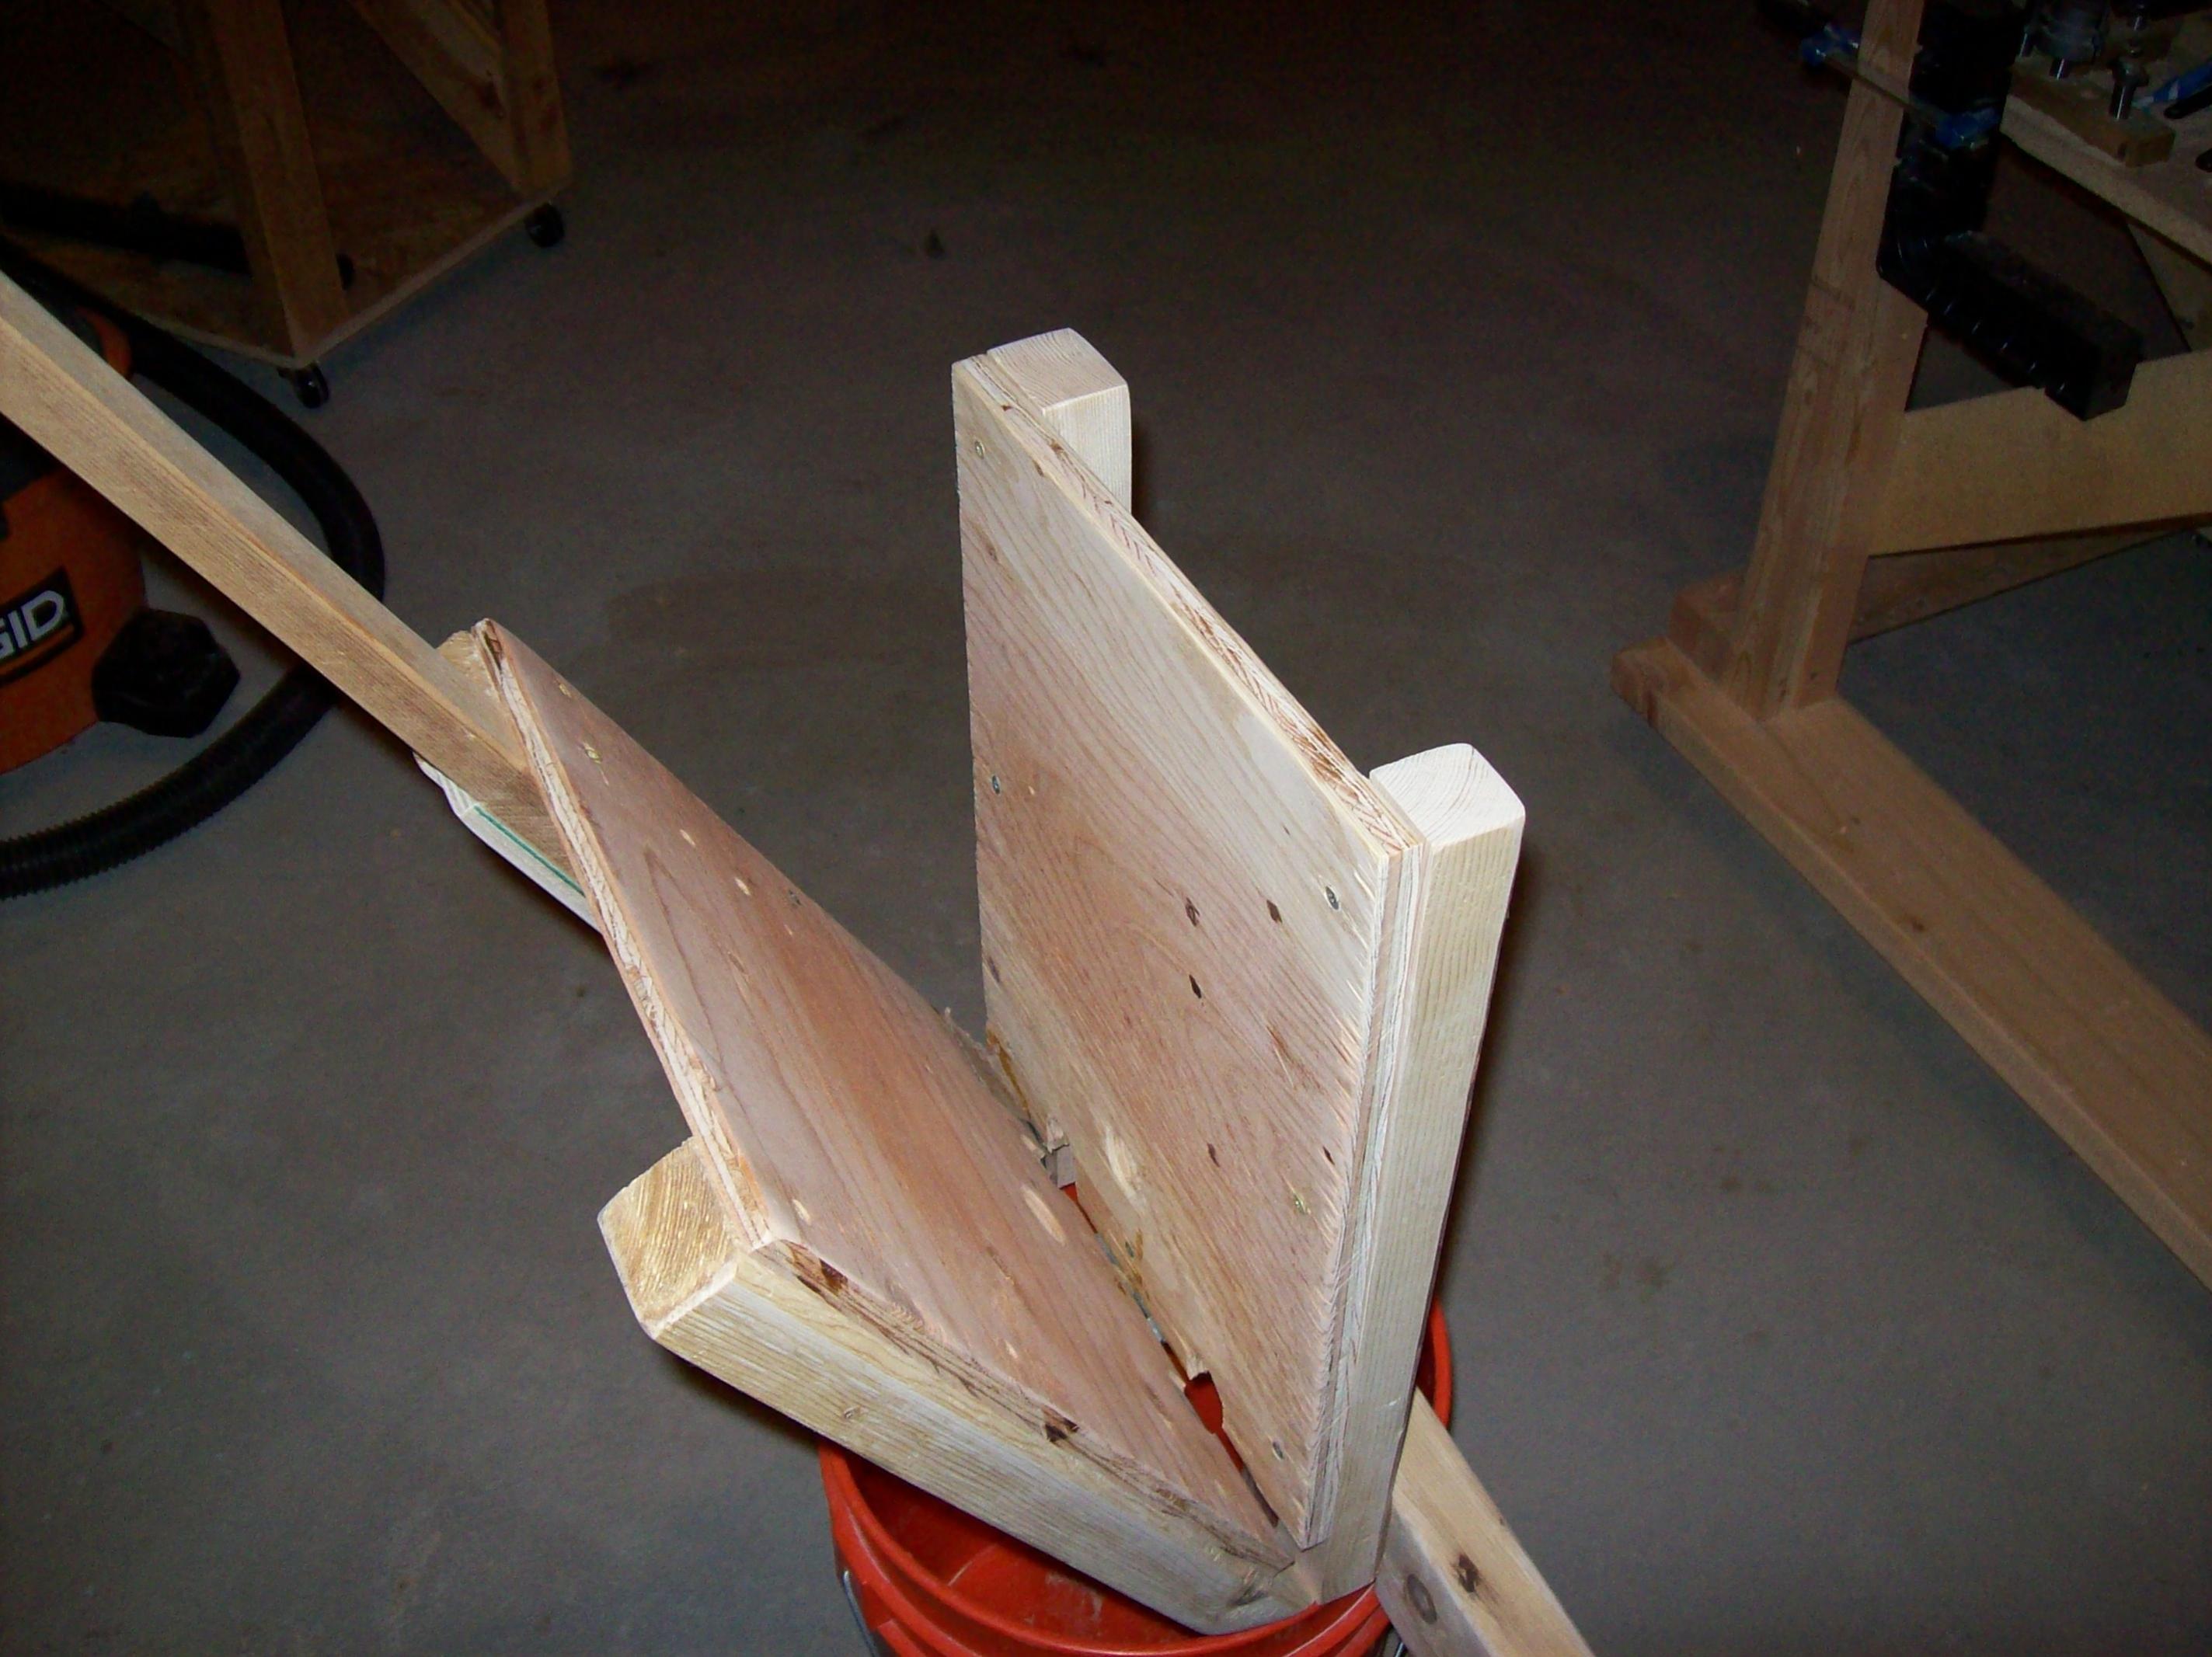
Credit: www.homemadetools.net
Conclusion: Embracing Diy Solutions
Making a mop wringer at home can be a fulfilling and satisfying experience. The joy of creating a functional tool from scratch is unmatched. Not only does it serve an immediate need, but it also inspires future DIY projects. Embracing DIY solutions allows for customization and creativity. It encourages resourcefulness and problem-solving skills. Creating a mop wringer is just the beginning. It opens the door to a world of possibilities, where everyday items can be repurposed and reinvented. The satisfaction of self-made tools goes beyond the practicality; it fosters a sense of accomplishment and empowerment. Taking on DIY projects contributes to a more sustainable and self-sufficient lifestyle. It’s a small step towards reducing waste and embracing a hands-on approach to everyday challenges.

Credit: m.youtube.com
Frequently Asked Questions
How To Wring Out A Mop Without A Wringer?
To wring out a mop without a wringer, twist it tightly by hand or press it against a surface.
How To Make A Rag Mop?
To make a rag mop, cut old towels into strips. Braid the strips tightly and sew the ends. Attach the braid to a mop handle. This DIY rag mop is eco-friendly and great for cleaning.
What Happens If You Don’t Wring Out A Mop?
Not wringing out a mop leaves excess water, causing streaks, and can damage floors.
How To Properly Ring Out A Mop?
To properly ring out a mop, hold the handle firmly and twist it in the mop bucket. Apply pressure to remove excess water, but don’t wring it too hard. Adjust the tightness of the wringing mechanism if necessary. This will ensure that the mop is properly rung out for effective cleaning.
Conclusion
Incorporating a homemade mop wringer can streamline your cleaning routine. By following these simple steps, you can create an effective and efficient tool for removing excess water from your mop. This DIY solution not only saves time and effort but also ensures a cleaner and drier floor.
Try making your own mop wringer today!


